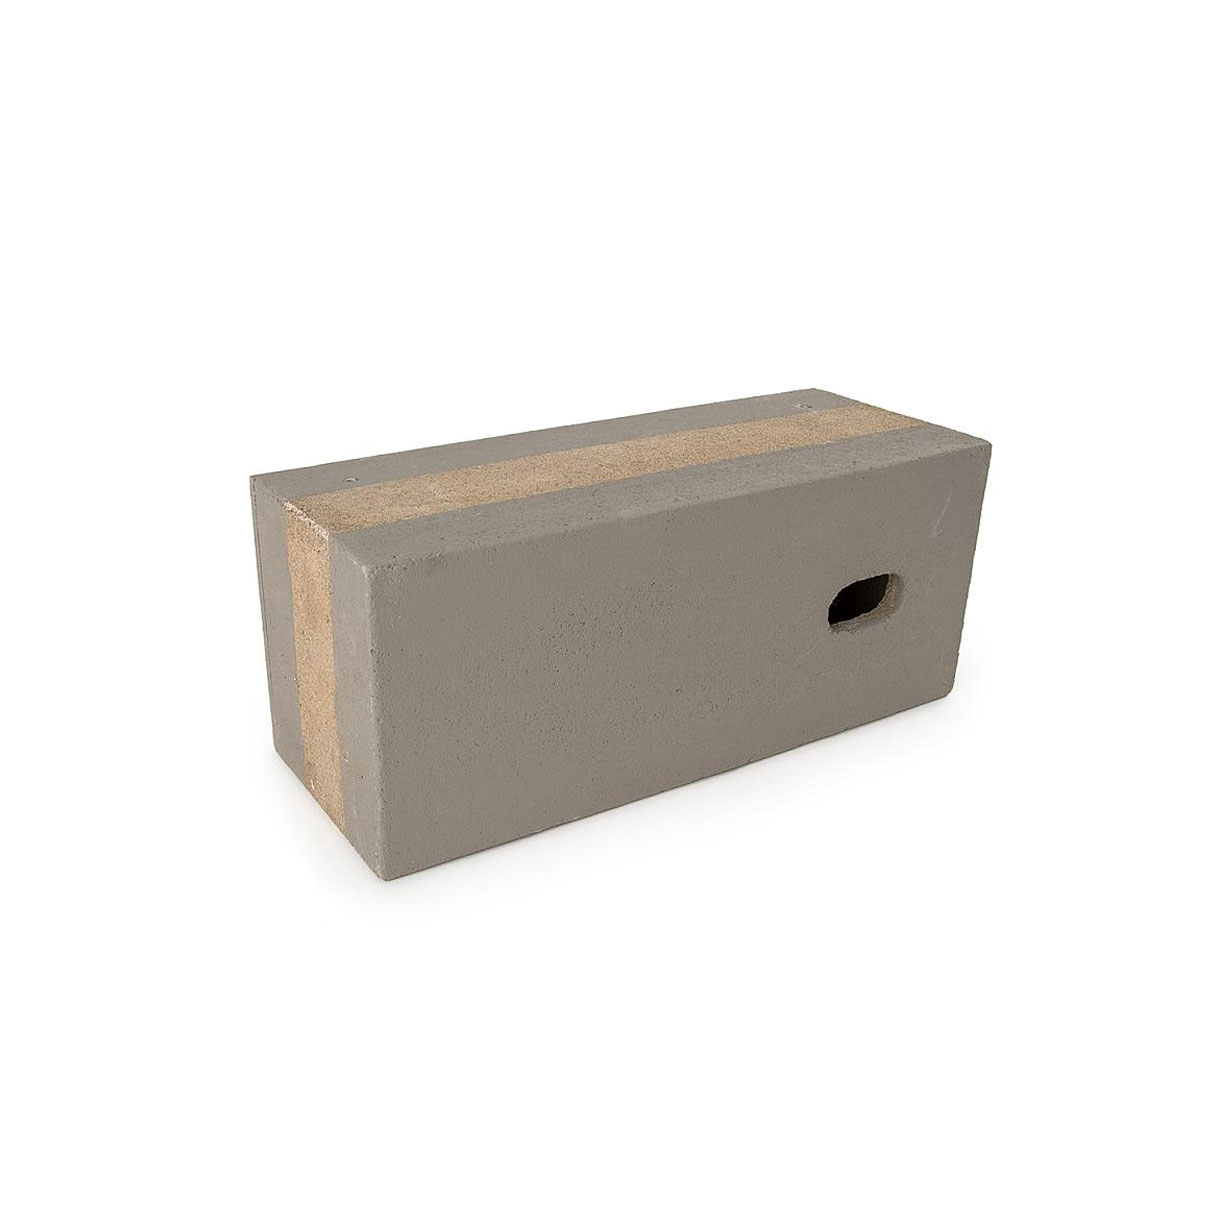

Description
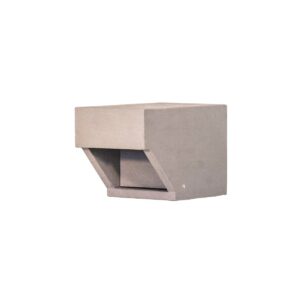
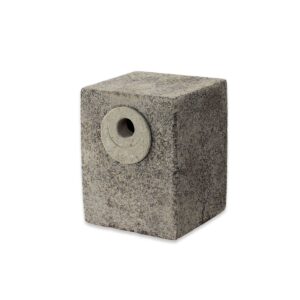
The common swiftbox is specially designed for the mitigation of common swifthabitats. The boxes can be placed both clustered and solitary. This common swiftbox is also popular with house sparrow s as a habitat. This built-in box provides nesting opportunities for the common swift and can be applied in new construction projects. With its 15 cm deep internal floor dimension, it provides the common swift with optimal breeding space.
The height of this built-in box fits perfectly in 3-layer wall format and the box can be installed with the entrance hole to the left or right. house sparrow sen also make use of this built-in nest box. For the discovery of the nest box by common swiften this is favorable. If the common swift wants to take over the nest box from the house sparrow , the sparrows will be forced out without mercy.
The built-in nest box is made of FSC wood concrete with a waterproof glued multiplex rear wall and meets all the requirements of the Bij12 Knowledge Document Common Swift.
INSTALLATION
Build the built-in nest box with the front side flush with the facade horizontally. Preferably with several together with a horizontal and vertical minimum distance of 50 cm.
Where possible, install the built-in boxes high and under the roof edge. If this is not possible, then install at least 4 meters high in the facade.
Do not build boxes directly above doors or windows. The facades between north and east are preferred. Another wind direction is also possible (for example, directly under the roof overhang). Do not build the dwellings in places where there is full sun all day and not on southwest facades due to rain.
Do not add nesting material.
MAINTENANCE
This built-in nest box does not need to be cleaned. Common Swiften will themselves remove excess nesting material (for example, if an house sparrow has been in it) to the outside.
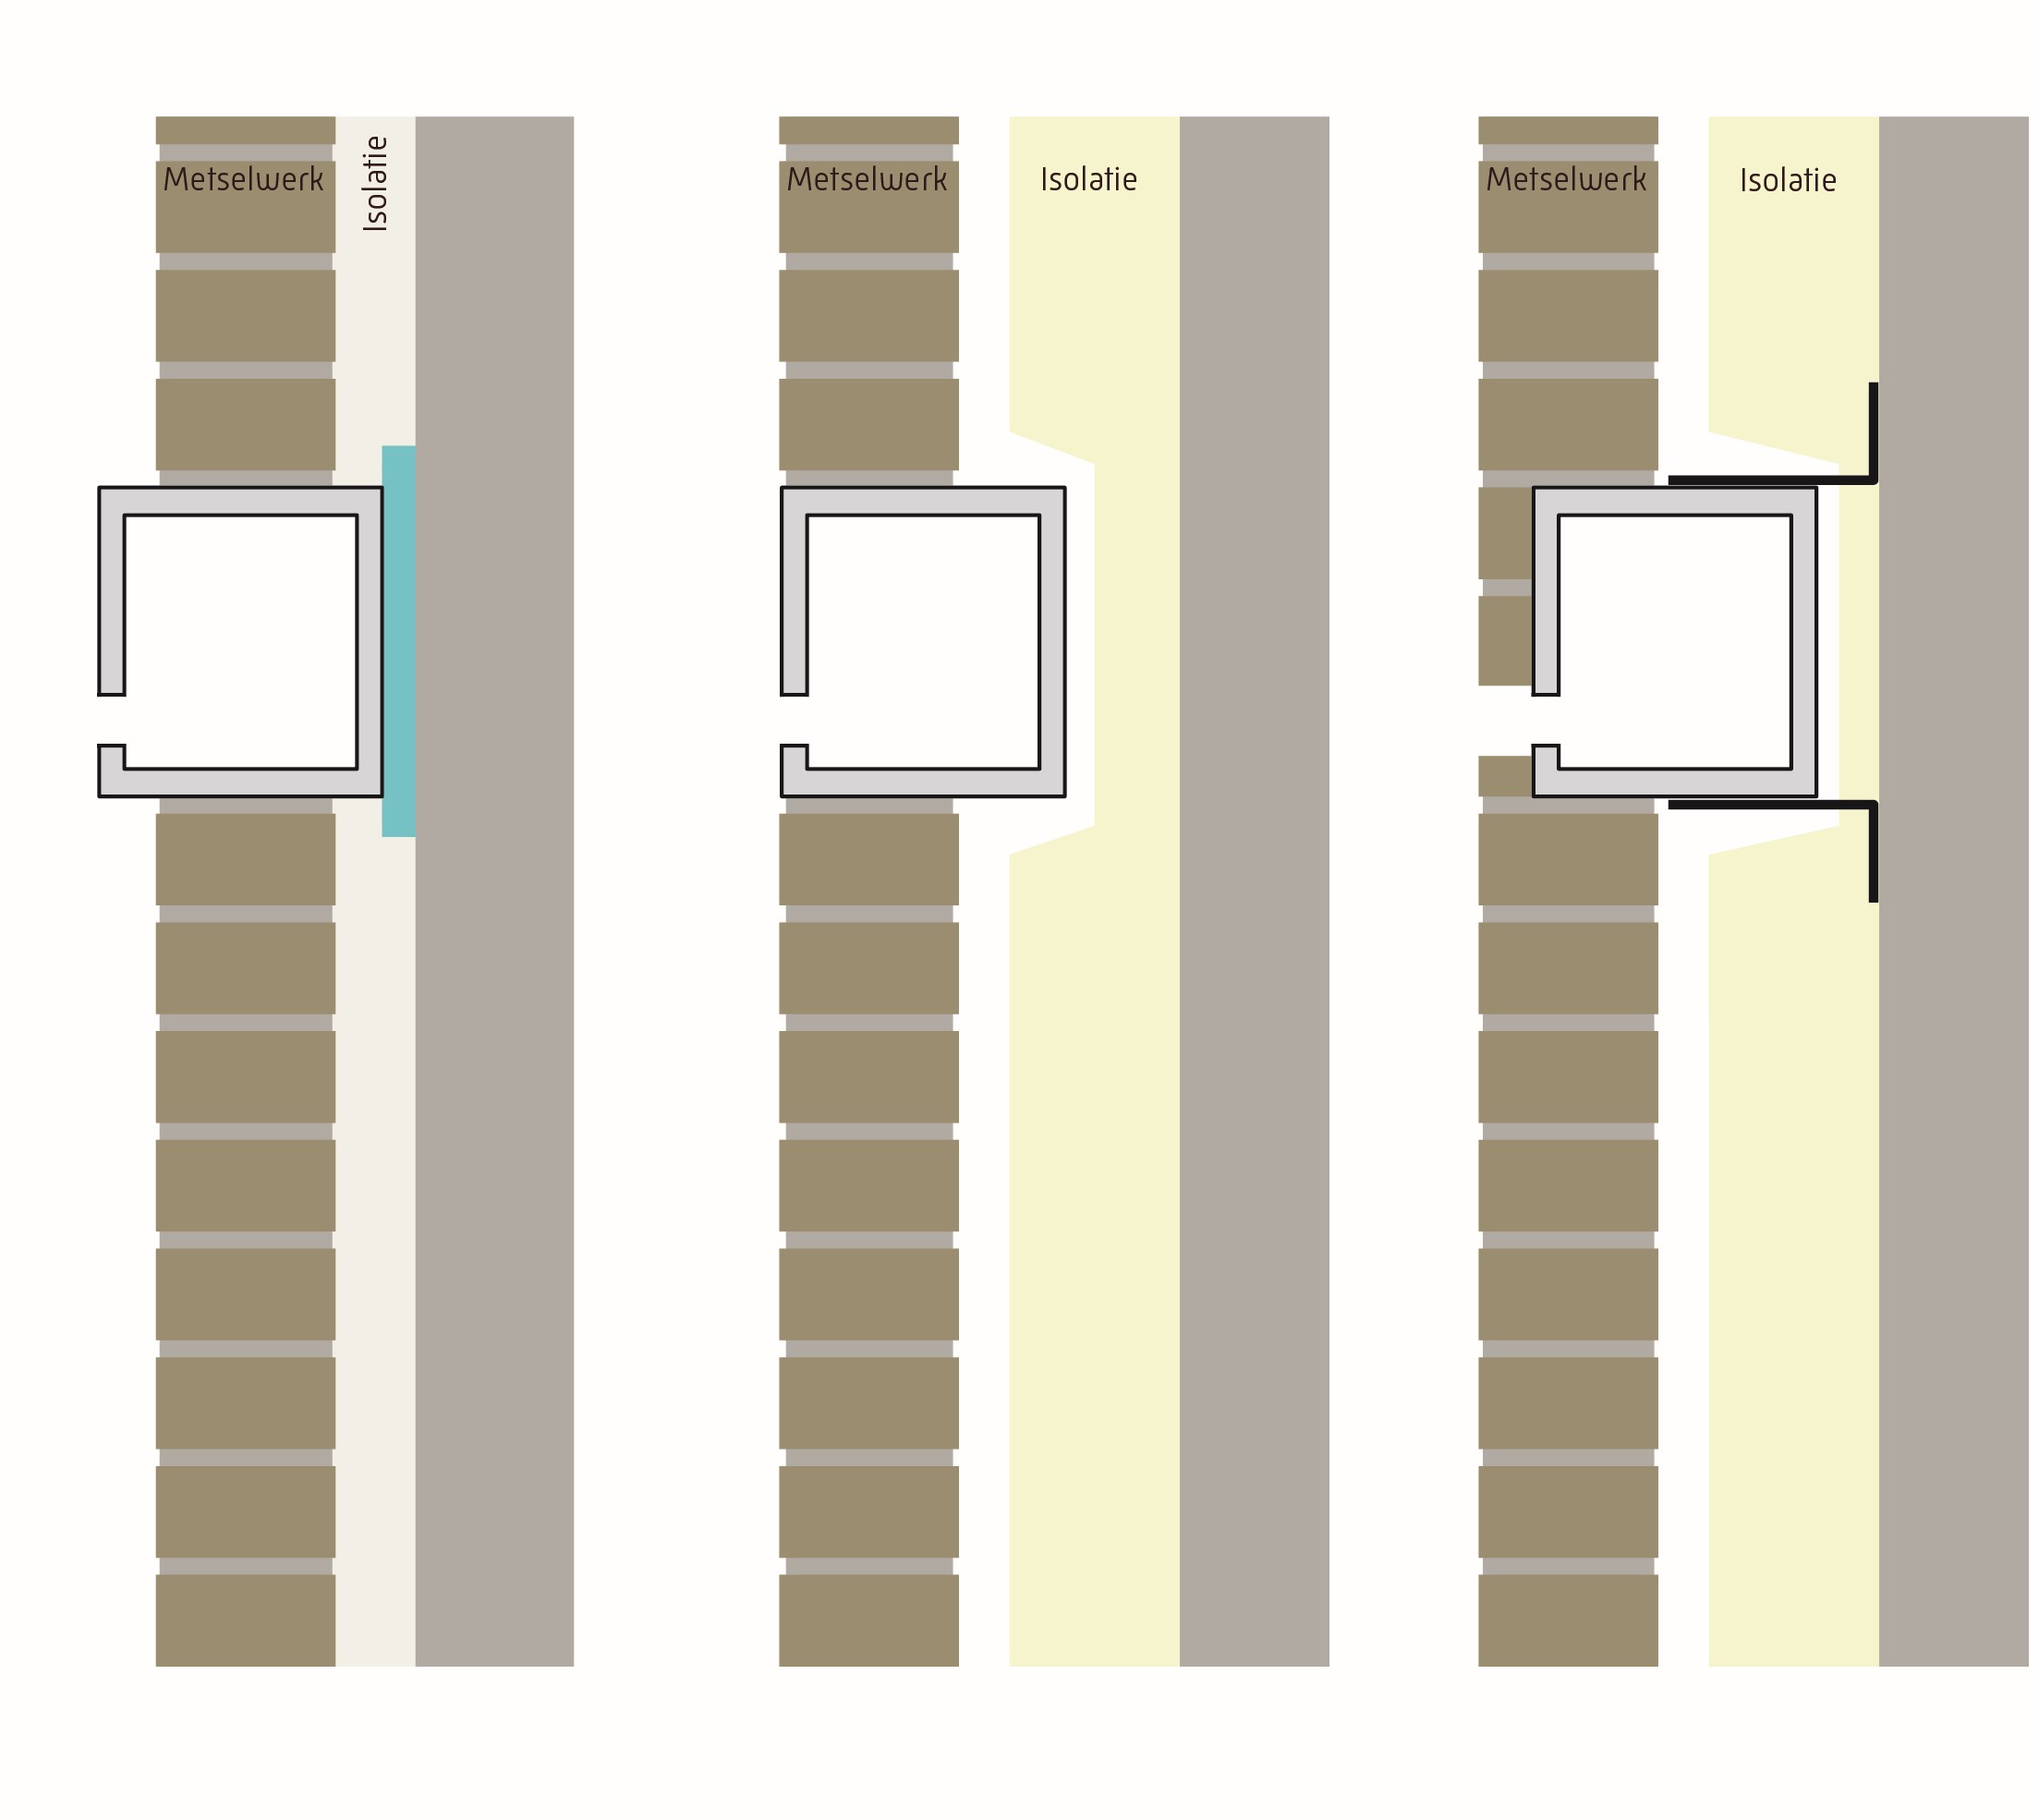
Installation options:
1. Installation in existing masonry: for deep nest boxes, let the box protrude slightly from the wall. Minimum 20mm PIR behind the box. Do not place the box against the inner leaf.
2. Flush with masonry: keep the box free from insulation.
3. Completely behind masonry: keep the box free from insulation. Mounting with corner anchors. Leave the stone slightly wider than the entrance hole. The box can be finished with stone strips or plasterwork.